Are you wondering how to maintain your safety razor to keep it looking pristine and shaving smoothly? If your morning shave feels rough or your razor looks dull, poor upkeep is likely the culprit. Proper maintenance prevents rust, eliminates bacteria, and ensures a perfectly close shave every single time.
A well-made safety razor is a lifetime investment. However, leaving it wet and covered in soap scum degrades the metal plating. Implementing a simple routine for cleaning a safety razor transforms your grooming experience. Let’s explore exactly what you need to do daily, weekly, and monthly.
This guide covers everything from quick daily rinses to deep cleaning methods. You will learn how to handle hard water stains, sanitize your shaving tools, and care for internal mechanisms. Mastering safety razor care guarantees better hygiene, reduces blade costs, and prevents painful skin irritation.
Table of Contents
Why Proper Maintenance Matters for Your Safety Razor
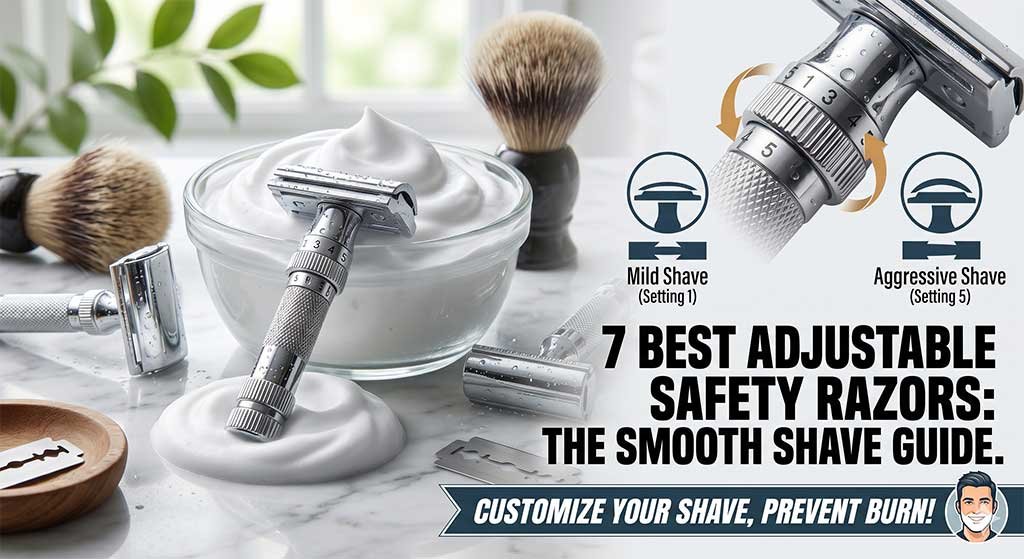
Neglecting your shaving tools leads to a multitude of problems. Hard water minerals and shaving cream residue build up incredibly fast. This buildup misaligns the blade angle, causing uneven cuts and severe razor burn. Consistent double edge razor maintenance ensures the blade rests perfectly parallel to the safety bar.
Extending the Lifespan of Your Razor
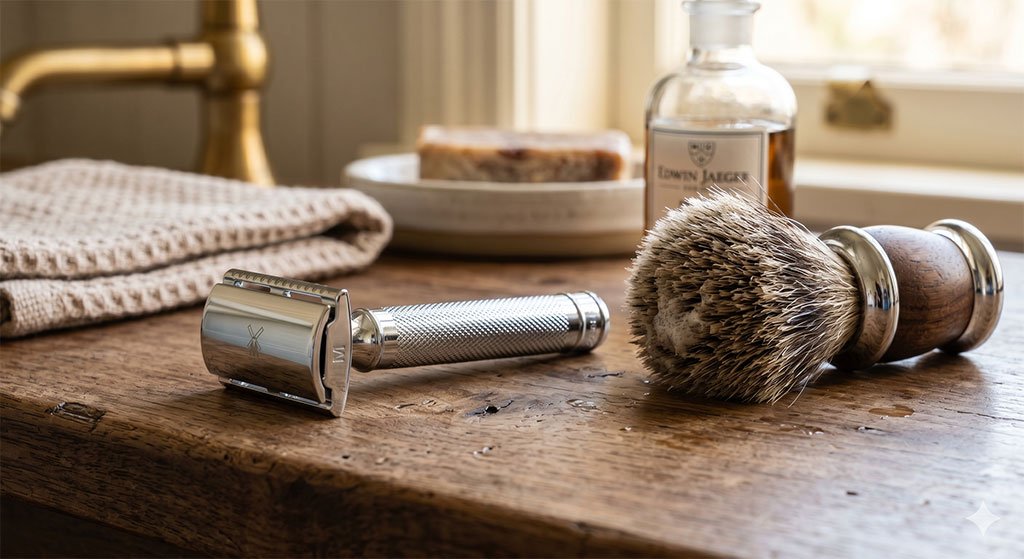
Most high-quality razors consist of brass, stainless steel, or chrome-plated alloy. These materials are incredibly durable but not completely invincible. When acidic skin oils and moisture sit on the metal, oxidation begins. Routine cleaning protects the protective plating, ensuring your razor easily lasts for generations without pitting.
Preventing Skin Irritation and Infection
A dirty razor is a breeding ground for harmful bacteria. When you shave, you create microscopic micro-abrasions on your skin. Introducing a bacteria-laden blade directly into these tiny cuts invites severe breakouts, painful razor bumps, and even staph infections. Keeping your equipment sanitized is essential for clear skin.
Saving Money on Replacement Blades
Blades wear out faster when forced to cut through hardened soap scum and hair residue. If the razor head is gunked up, the blade edge cannot perform optimally. Keeping the razor head perfectly clean ensures you get the maximum number of smooth shaves from every single blade you install.
Exactly How to Maintain Your Safety Razor: Step-by-Step Daily Routine
Learning How to Maintain Your Safety Razor starts right at the bathroom sink. The actions you take immediately after finishing your shave dictate the lifespan of your tool. You only need about thirty seconds to perform this crucial daily maintenance routine correctly. Let’s break it down.
1. Rinsing Thoroughly During and After Your Shave
Always rinse your razor under hot, running water after every two or three strokes. Hot water effectively melts away thick shaving soap and flushes out trapped stubble. Once your shave is complete, loosen the razor head slightly. This allows high-pressure water to flush out the hidden internal channels.
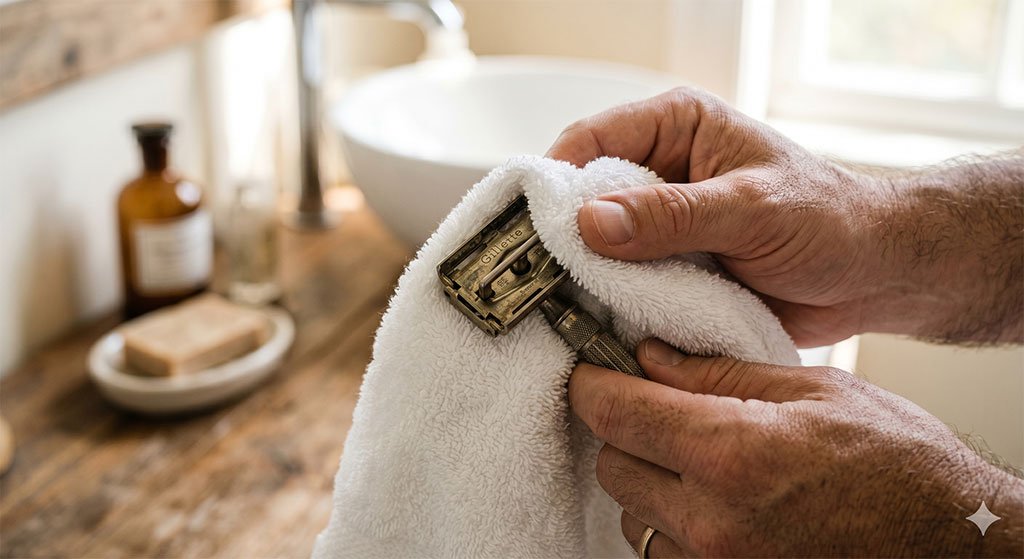
2. The Crucial Drying Process
You must never leave a safety razor soaking wet. Water is the primary enemy of both the razor body and the thin steel blade. Shake off the excess water vigorously into the sink. Then, take a clean, dry towel and gently pat the exterior of the razor completely dry.
3. Proper Storage Away from Humidity
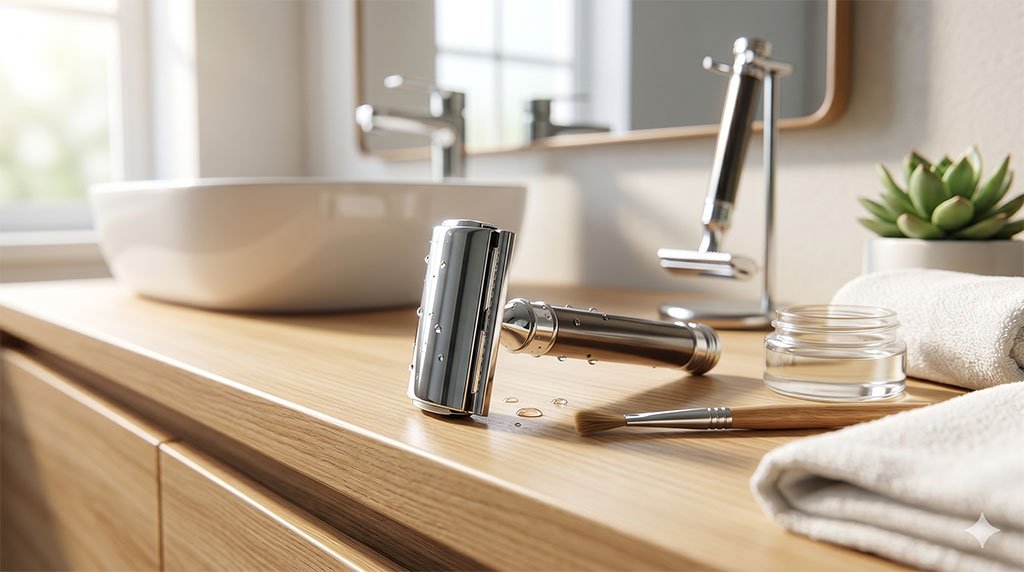
Storing your razor inside the shower cabin is a terrible idea. The constant ambient humidity accelerates rust on the blade and degrades the razor’s finish. Instead, store your razor in a well-ventilated area. Using a dedicated razor stand keeps the tool upright, allowing residual moisture to drip away harmlessly.
Storage Method | Humidity Level | Rust Risk | Recommendation |
Inside Shower | Very High | Severe | Strongly Avoid |
Bathroom Drawer | Medium | Moderate | Not Ideal |
Open Countertop | Low | Minimal | Good |
Dedicated Stand | Low | Zero | Highly Recommended |
How to Deep Clean Your Safety Razor (Weekly or Bi-Weekly)
Even with excellent daily habits, soap scum eventually accumulates. Performing a deep clean every two weeks restores the factory shine. To remove soap scum from razor surfaces safely, you need mild household ingredients. Harsh chemicals will strip the chrome or gold plating instantly, ruining your investment.
Disassembling the Components
Begin by carefully disassembling your razor. If you own a three-piece razor, unscrew the handle, separate the base plate, and remove the top cap. For butterfly (TTO) models, simply twist the knob to open the doors completely. Always handle the blade with extreme caution during this disassembly process.
The Dish Soap and Toothbrush Method
Create a warm bath using water and a few drops of mild liquid dish soap. Submerge the disassembled razor parts and let them soak for ten minutes. The dish soap cuts through tough sebum and shaving oils. Next, use a soft-bristled toothbrush to gently scrub every nook and cranny.
Avoid using hard nylon brushes or abrasive scouring pads. These materials will inflict microscopic scratches on the razor’s polished finish. Focus your brushing efforts on the threads of the handle and the underside of the base plate. These hidden areas harbor the highest concentration of dried lather and dead skin.
Removing Hard Water Stains
If your razor looks cloudy or white, you are dealing with hard water mineral deposits. Create a solution of one part white vinegar to four parts water. Soak the razor parts in this diluted vinegar bath for a maximum of fifteen minutes. Vinegar safely dissolves stubborn calcium deposits.
Never soak a plated razor in vinegar for extended periods. Prolonged exposure to acidic vinegar will eat through chrome plating and expose the raw brass underneath. After the short soak, immediately scrub the parts with your soft toothbrush and rinse thoroughly under warm, running tap water.
Sanitizing the Razor
After washing away the grime, it is time to disinfect the tool. Pour a small amount of isopropyl rubbing alcohol (70% or higher) into a small cup. Briefly dunk the razor head into the alcohol. The alcohol instantly displaces any remaining water hidden in the threads and kills lingering bacteria.
Safety Razor Blade Care and Safe Disposal
Maintaining the razor body is only half the battle. Proper blade care ensures a comfortable, nick-free experience. Double-edge razor blades are incredibly sharp and incredibly thin. They require specific handling procedures to maintain their cutting edge and to ensure safety in your household waste management.
How Long Should You Keep a Blade?
A standard double-edge blade typically lasts for three to five comfortable shaves. However, this varies depending on your beard thickness and shaving technique. If you feel the blade tugging or pulling at your hair instead of slicing cleanly, it is time to discard it immediately. Never force a dull blade.
Should You Remove the Blade After Every Shave?
Removing the blade after every single shave allows for superior drying. However, constantly handling a razor-sharp blade increases the risk of accidental cuts. For most users, slightly loosening the razor head to allow airflow is sufficient for daily drying. Only remove the blade completely when performing your bi-weekly deep clean.
Using a Blade Bank for Safe Disposal
Never throw loose razor blades directly into the bathroom trash can. This poses a massive hazard to whoever takes out the garbage. Instead, invest in a cheap metal blade bank. Alternatively, you can easily create a DIY blade bank by cutting a small slit into the lid of a tin broth can.
- Safety Tip 1: Keep the blade bank stored completely out of reach of children or pets.
- Safety Tip 2: When the bank is completely full, seal the top slit securely with heavy tape.
- Safety Tip 3: Recycle the sealed tin at a designated local sharps facility if your municipality allows it.
Long-Term Care: Lubricating the Mechanisms
Three-piece razors have minimal moving parts. However, if you are currently weighing the benefits of adjustable vs. fixed safety razors, you should know that adjustable and butterfly-open (TTO) models contain complex internal mechanics. Over time, these internal hinges and springs can become stiff or seized due to internal moisture and friction. Proper lubrication is vital for keeping these specialized shaving tools functioning perfectly.
Caring for Butterfly (TTO) and Adjustable Razors
If your butterfly doors squeak when opening, or your adjustable dial feels stiff, do not force them. Forcing jammed mechanical parts will strip the delicate internal threading. The issue is usually a combination of dried soap deep within the handle and a complete lack of protective lubrication.
Applying Mineral Oil
After your monthly deep clean, ensure the razor is bone dry. Apply a single drop of pure, unscented mineral oil to the handle threads and the butterfly door hinges. Open and close the mechanism several times to distribute the oil evenly. Wipe away any excess oil with a tissue.
Always use mineral oil for this task. Do not use cooking oils like olive oil or vegetable oil, as these will eventually go rancid and emit a foul odor. Avoid heavy automotive lubricants like WD-40, which contain harsh solvents that are toxic and unsafe for direct skin contact.
FAQs
No, you should never use bleach or harsh bathroom cleaners on a safety razor. Bleach is highly corrosive. It will instantly destroy the protective chrome or gold plating and permanently discolor the underlying metal. Always stick to mild dish soap, warm water, and diluted white vinegar for safe cleaning.
If you see green residue on your razor, you are witnessing copper oxidation. This means the top layer of chrome plating has worn away, exposing the brass base metal underneath. The brass reacts with moisture and oxygen to form a green patina. Gentle polishing can remove the green safely.
Often, what looks like rust on the razor is actually “tea staining” transferred from a cheap, rusty blade. This surface rust easily wipes away with a toothbrush and dish soap. If the razor itself is actually rusting, it means the stainless steel is compromised. Use a mild metal polish cautiously.
Conclusion
Learning how to maintain your safety razor is the absolute best way to protect your grooming investment. By implementing these straightforward daily habits and committing to a bi-weekly deep clean, you guarantee a lifetime of incredibly smooth, irritation-free shaves while saving a significant amount of money on replacement blades.
Consistency is the secret to superior safety razor care. Take the extra thirty seconds after your morning routine to rinse, loosen, and dry your equipment properly. Your skin will thank you, and your favorite shaving tool will remain a gleaming fixture in your bathroom for decades to come.
Are you ready to upgrade your morning routine? Ensure you have the right accessories by checking out our top-rated shaving soaps and premium razor stands to perfectly complement your freshly cleaned safety razor!