Switching from a traditional blade to an electric shaver can feel like stepping into a new world of grooming. You might be wondering, how to shave with an electric razor to get that perfectly smooth finish without the irritation often associated with wet shaving. Good news! Electric shaving offers speed, convenience, and significantly less risk of nicks and cuts.
This comprehensive guide will walk you through every step, from choosing the right tool to the final post-shave care. You will learn the best techniques for your specific shaver type and facial hair, making your daily shave a far more comfortable experience. Forget the complex rituals of creams and foams; let’s dive into mastering your new electric routine.
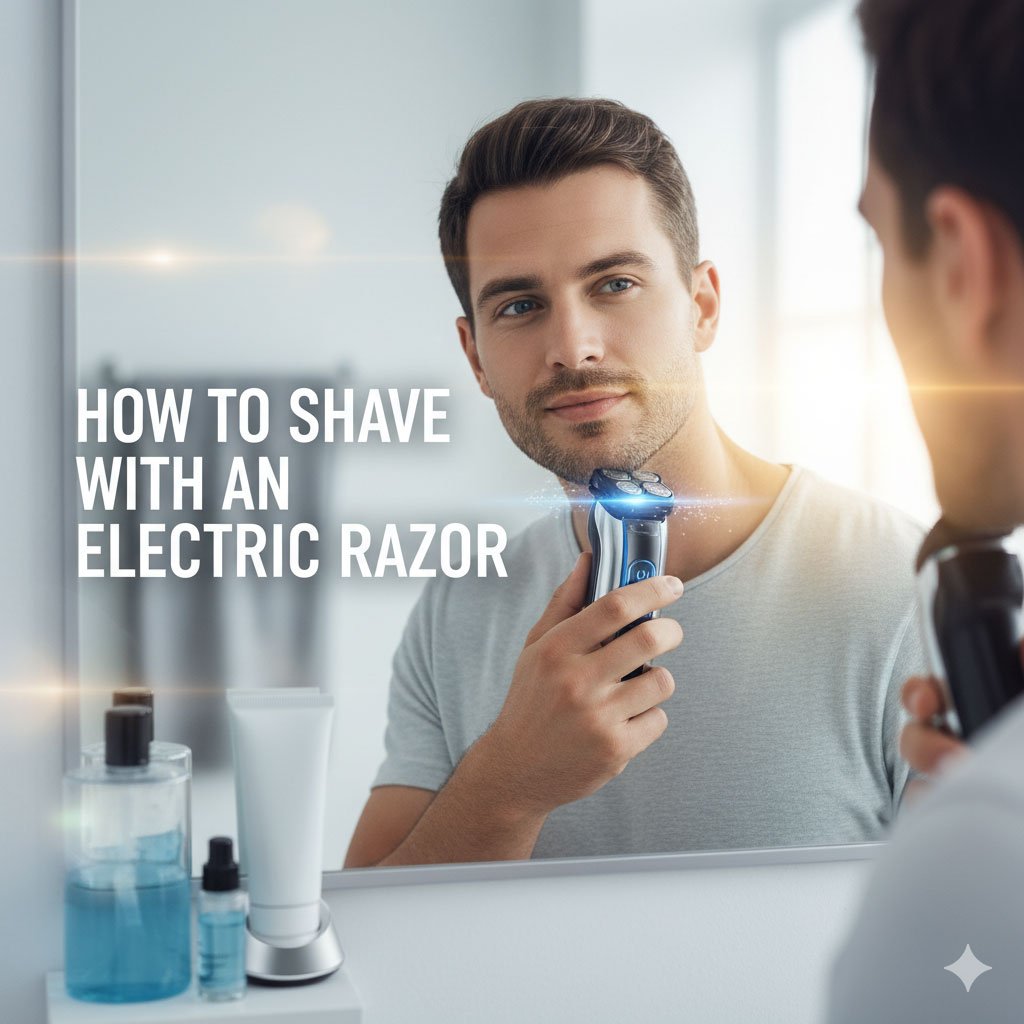
Table of Contents
Essential Prep: Getting Your Skin and Shaver Ready
A great shave starts even before the razor touches your face. Taking a few simple preparatory steps will protect your skin and ensure your electric shaver performs at its best, leading to a closer and more comfortable experience.
1. Know Your Tools: Foil vs. Rotary Shavers
Electric razors come in two main types, and knowing the difference is crucial for choosing the right technique.
- Foil Shavers: These have a thin, perforated metal foil covering oscillating blades. They are great for precise trimming and often deliver a slightly closer shave. You should use a straight, back-and-forth motion with a foil shaver.
- Rotary Shavers: These feature circular heads with spinning cutters underneath. They are excellent for contouring around the neck and jawline and work best with circular motions.
Shaver Type | Best for… | Recommended Movement |
Foil | Close shaves, straight areas, precise lines | Straight, back-and-forth strokes |
Rotary | Contours, neck, jawline, multi-directional hair | Small, overlapping circular motions |
2. Prepare Your Face
For most electric shaving, especially with a dry shave, your skin and facial hair should be clean and completely dry.
- Skip the immediate shower: After showering, your skin can be slightly swollen, making it harder for the shaver to grab the hair close to the root. Wait about 15-20 minutes after waking up or washing your face.
- Trim longer growth: If you haven’t shaved for a few days (three days or more of growth), use your shaver’s pop-up trimmer or a beard trimmer attachment first. Electric shavers are designed to cut stubble, not long hair. Trimming first prevents pulling and snagging, which can cause significant irritation.
- Use a pre-shave lotion (Optional): A pre-shave product for electric shaving can help absorb moisture and oil, making the hairs stand up straighter. This allows the shaver to glide more smoothly and cut more effectively.
3. Check the Charge
Always make sure your electric shaver is fully charged before you begin. A weak battery can slow down the motor, causing the shaver to pull at your whiskers instead of cutting them cleanly. This can be very uncomfortable and lead to razor burn.
Step by Step: How Shave with an Electric Razor
Now, let’s get down to the actual shaving process. Remember, the goal is to use minimal pressure and let the electric shaver do the work.
1. Stretch the Skin
Use your free hand to gently pull and stretch your skin taut. This action helps lift the hair and makes the surface flatter. Stretching the skin is especially useful when shaving tricky areas like the neck and jawline, ensuring maximum contact between the shaver head and your face for a closer shave.
2. Perfect the Angle and Pressure
- Angle: Hold the electric shaver at a right angle (90°) to your skin. This maximizes the cutting surface contact.
- Pressure: Use a light, steady pressure. Unlike a traditional blade, you do not need to press hard. Too much pressure is the number one cause of heat build-up, skin irritation, and eventual razor burn. Let the motor and sharp blades do their job smoothly.
3. Shave Against the Grain
For the closest result, you will generally want to shave against the direction of your hair growth (against the grain). Use your hands to feel the direction your hair grows on different parts of your face, as it often changes.
- Foil Shaver Strokes: Use short, controlled, linear strokes back and forth, moving in the opposite direction of hair growth. Overlap your passes slightly.
- Rotary Shaver Strokes: Use small, overlapping circular motions. For a good shave, you may also need to incorporate up-and-down or sideways motions to capture all the hairs, especially those that grow in multiple directions.
4. Tackle the Difficult Areas First
Many experts suggest starting with your most sensitive or trickiest areas, such as your neck, while the shaver is still cool. As the electric shaver runs, the motor generates heat. Starting on the toughest areas first, before the razor warms up, can minimize irritation.
- Under the Nose: Pucker your lips or gently lift your nose with your finger to stretch the skin in this area. Use the edge of your foil shaver or the specific trimmer.
- The Neck: This area often has multi-directional growth. Tilt your head back to stretch the skin. Use caution and slow, deliberate strokes.
5. Check Your Work
Once you think you are done, turn off the shaver and run your fingertips over your face and neck. Feel for any patches of stubble or missed spots. Focus only on these areas with short, precise strokes to achieve a smooth finish.

Post-Shave Care: Soothing and Protecting Your Skin
A proper post-shave routine is essential for calming your skin and helping it recover, especially when you are switching to a new electric shaving method.
- Rinse with Cold Water: Splash your face with cold water to close your pores and remove any loose hair clippings. Gently pat your face dry with a clean, soft towel. Avoid rubbing aggressively.
- Apply Aftershave: Use a non-comedogenic (won’t clog pores) and alcohol-free aftershave balm or moisturizer. This helps to restore moisture, soothe any mild irritation, and protect your freshly shaved skin. Avoid heavily fragranced products if you have sensitive skin.
- Moisturize: Even if you use a balm, a good quality facial moisturizer can further hydrate your skin, keeping it healthy and resilient for your next shave.
Maintenance: Keep Your Electric Razor Sharp
Your electric razor is an investment, and proper care ensures it delivers a consistent, close shave over time. Regular maintenance is key to performance.
1. Clean After Every Use
Hair clippings and dead skin cells can build up quickly, dulling the cutters and straining the motor.
- Rinse/Brush: For wet/dry shavers, simply rinse the head under warm running water. For dry-only shavers, use the included small brush to gently remove hair from the foils and cutter block.
- Avoid Bashing: Never tap or hit the shaver on the sink to dislodge hair. This can damage the delicate foil or cutter heads.
2. Regular Deep Cleaning
Periodically, you should deep clean your shaver.
- Cleaning Solution: Many higher-end models come with a cleaning station. If not, you can disassemble the head (as per the manufacturer’s instructions) and soak the cutters and foils in an electric shaver cleaning solution or a mild soap mixture.
- Lubrication: Apply a single drop of special shaver oil (or a very light machine oil) to the cutters after a deep clean. This keeps the blades moving smoothly, reduces friction, and prevents overheating.
3. Replace Worn Parts
Electric shaver heads and foils are wear parts and become dull over time. The general recommendation is to replace them every 12 to 18 months, or as soon as you notice a decline in performance (e.g., pulling, slower cutting, or irritation). Check your manufacturer’s specific advice for the best results.
How to Solve Common Electric Shaving Problems
Experiencing some trouble? Don’t give up! Most common issues can be solved with a simple adjustment to your technique or routine.
Problem | Likely Cause | Quick Fix |
Razor Burn/Irritation | Too much pressure, going over the same area too many times, or a dull foil/cutter. | Lighten your pressure; slow down and minimize repeat passes; check for dull blades. |
Not a Close Shave | Not shaving against the grain, hair is too long, or insufficient skin tension. | Trim long hairs first; pull your skin taut; ensure you are shaving against the direction of hair growth. |
Hair Pulling/Snagging | Low battery charge or hair is too long for the cutting system. | Recharge fully before shaving; use the trimmer to cut hair down to stubble length first. |
Long Shaving Time | Not cleaning the shaver properly or using the wrong type of motion. | Clean the shaver thoroughly; use proper linear (foil) or circular (rotary) motions. |
FAQ
Most modern electric razors are designed for both wet and dry shaving. Dry shaving is faster and more convenient. Wet electric shaving, using a shaving gel or foam, can often provide a closer shave and is gentler for sensitive skin. Choose the method that your shaver supports and that feels most comfortable for your skin type.
If you are switching from a manual blade, your skin typically needs about 2 to 4 weeks to fully adjust to the new cutting method. During this adjustment period, you might experience mild irritation. Be patient, stick to a consistent routine, and your skin will adapt.
If you are dry shaving, it is best to shave before your shower. This is because washing your face or body can make the skin swell slightly. If you prefer to shower first, wait 15-20 minutes for your skin to cool and tighten. If you are wet shaving, you can use the shaver during or immediately after your shower.
Generally, you should replace the cutting components (foil or rotary cutters) every 12 to 18 months. Check your specific model’s manual. Dull blades are the main cause of uncomfortable pulling and skin irritation, so replace them promptly when you notice a drop in performance.
You should only use shaving cream or gel if your electric razor is explicitly marked as “wet/dry” or waterproof. Never use lathering products with a dry-only electric shaver, as they can clog the delicate mechanics.
The neck is a tricky spot because hair growth is often multi-directional. To get a close shave, stretch the skin by tilting your head back. Use short, careful strokes and be sure to move the shaver against the direction of hair growth for that specific area.
Red bumps are usually a form of razor burn or mild irritation. This happens due to too much pressure, going over the same spot repeatedly, or using a dull blade. Reduce your shaving pressure, go slower, and always check that your shaver head is clean and sharp.
Conclusion
Mastering the electric shave is all about knowledge, the right tools, and a touch of patience. By understanding your specific electric shaver—be it foil or rotary—and following the correct preparation and shaving techniques, you can enjoy an incredibly fast, comfortable, and close shave every day. Remember to use light pressure, keep your skin taut, and maintain your shaver diligently. Soon, the question of how to shave with an electric razor will be an easy one to answer, as you confidently embrace this superior grooming method.