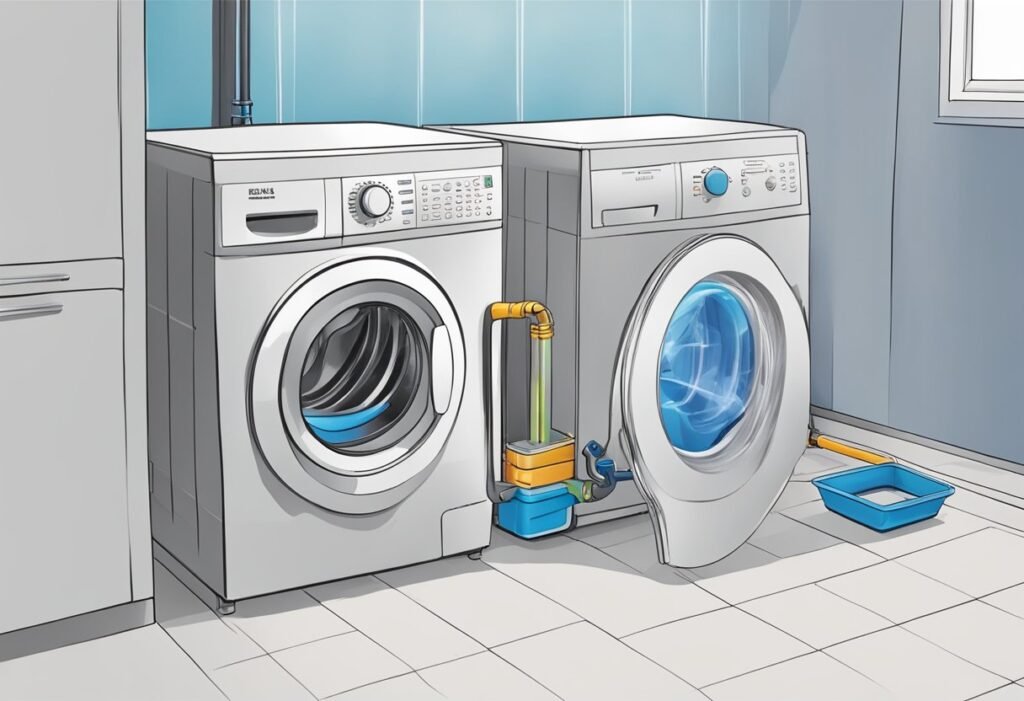
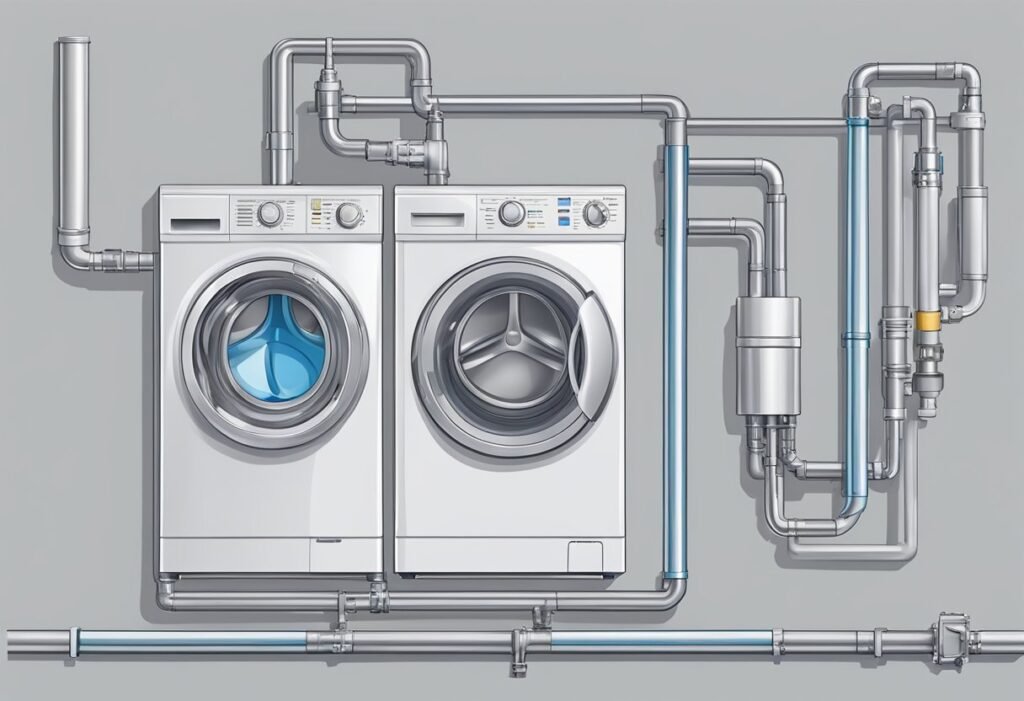
To vent a washing machine drain pipe, connect a vent pipe to the drain trap. Ensure the vent pipe runs upward and connects to the main vent stack. This allows proper air circulation, preventing water backups and unpleasant odors. Follow local plumbing codes and seek professional advice if needed for safe installation.
If you’re experiencing gurgling noises or unpleasant smells coming from your washing machine, it may be time to check your drain pipe ventilation. Proper venting is essential to prevent flooding and ensure your laundry room stays dry. Here, we’ll cover everything you need about how to vent a washing machine drain pipe.
Table of contents
Requirements For Venting Drain Pipe

When it comes to venting a washing machine drain pipe, it’s important to understand the requirements to ensure proper function. Venting is necessary to prevent air pressure build-up in the drain pipe, which can cause slow draining or even backflow. Here are some key things to keep in mind:
- Minimum Size: The vent pipe must be at least 1 1/2 inches in diameter. This ensures that there is enough space for air to flow freely and prevent blockages.
- Distance: The vent pipe must be within 5 feet of the trap. This ensures that the vent can effectively equalize the air pressure in the drain pipe.
- Height: The vent pipe must extend above the flood level rim of the highest fixture connected to the drain. This prevents backflow from other fixtures in the event of a blockage.
- Termination: The vent pipe must terminate at least 6 inches above the roofline. This prevents debris and rainwater from entering the vent pipe and causing blockages.
Tools and Materials Needed
Venting a washing machine drain pipe is a straightforward process that requires a few tools and materials. Before you begin, make sure you have all the necessary items on hand to complete the job.
Tools
- Screwdriver
- Drill
- Hole saw
- PVC cutter
- Measuring tape
- Pencil or marker
Materials
- PVC pipes
- PVC elbows and couplings
- Air admittance valve (AAV)
- Screws
- Washer
The PVC pipes are the backbone of your venting system, so make sure they are the correct diameter for your washing machine. You’ll also need PVC elbows and couplings to direct the pipe route.
An air admittance valve (AAV) is an essential component of your venting system. It helps to direct gasses out of your washing machine’s pipes and into a well-ventilated area.
You’ll need screws to attach the vent pipe to the wall or framing, ensuring it is securely fastened. Make sure you have a washer on hand to avoid damaging the pipe.
In addition to the tools and materials listed above, you may also need additional items depending on your specific setup. Consult the manufacturer’s instructions or a professional plumber if you have any questions or concerns.
Preparation and Safety Tips
Before you begin to vent your washing machine drain pipe, there are some preparation and safety tips you should keep in mind to ensure a successful and safe project.
Preparation Tips
- Locate the drain pipe: The first step in venting your washing machine drain pipe is to locate the drain pipe. This is typically located at the back of the washer. Once you have located the drain pipe, you can begin planning the vent route.
- Choose a vent route: The vent route you choose should be the shortest distance possible from the washing machine to the outside of the house. This will help to ensure that the vent is effective and that there are no clogs or obstructions.
- Gather your materials: You will need PVC pipes, elbows, couplings, a T-fitting, PVC primer, and cement. Make sure that you have all the necessary materials before you begin the project.
Safety Tips
- Turn off the power: Before you begin working on your washing machine, make sure that the power is turned off. This will help to prevent any electrical shocks or accidents.
- Wear protective gear: When working with PVC primer and cement, it is important to wear protective gear such as gloves and goggles. This will help to prevent any skin or eye irritation.
- Work in a well-ventilated area: When using PVC primer and cement, make sure that you are working in a well-ventilated area. This will help to prevent any harmful fumes from building up.
Locating the Vent Point
When it comes to venting a drain pipe, the first step is to locate the vent point. This is where the vent pipe will be connected to the drain pipe to allow air to enter the system.
The vent point is typically located on the main drain stack, which is a large vertical pipe that runs through the house and connects to the sewer line. You will need to find the section of the drain stack that is closest to the washing machine.
One way to locate the vent point is to look for a pipe that extends from the top of the drain stack and runs parallel to it. This is the vent pipe, and it should be located within a few feet of the washing machine.
Alternatively, you can use a stud finder or a similar tool to locate the vent pipe behind the wall. Once you have located the vent pipe, you can mark its location on the wall or floor for reference.
It is important to note that the location of the vent point may vary depending on the layout of your home and the plumbing system. If you are unsure about the location of the vent point, it is recommended to consult a professional plumber or refer to a plumbing diagram.
Step By Step: How To Vent A Washing Machine Drain Pipe

Now that you have determined the best location for your vent pipe, it’s time to install it. Here are the steps you need to follow:
- Choose the right type of vent pipe: There are two types of vent pipes: metal and plastic. Metal vent pipes are more durable and last longer, but plastic vent pipes are easier to install. Choose the one that suits your needs and budget.
- Measure and cut the vent pipe: Measure the distance from the washing machine drain pipe to the vent pipe location. Cut the vent pipe to the appropriate length using a hacksaw.
- Attach the vent pipe to the T-fitting: Insert the vent pipe into the opening of the T-fitting and secure it with PVC primer and cement. Make sure the connection is tight and there are no signs of leaks.
- Attach the T-fitting to the drain pipe: Insert the T-fitting into the drain pipe and secure it with PVC primer and cement. Make sure the connection is tight and there are no signs of leaks.
- Install the vent cap: Install a vent cap on the end of the vent pipe to prevent debris and pests from entering the pipe. Make sure the vent cap is securely attached to the vent pipe.
- Test the vent pipe: Turn on the washing machine and let it run for a few minutes. Check the vent pipe for any signs of leaks or blockages. If everything looks good, you’re done!
By following these simple steps, you can install a vent pipe for your washing machine drain pipe and ensure that your washing machine runs smoothly without any drainage issues.
Connecting the Drain to the Vent System

Now that you have installed the vent system, it’s time to connect the drain to it. Here are the steps to follow:
- Locate the drainpipe: The drainpipe is usually located at the back of the washing machine. You will need to connect the vent pipe to this drainpipe.
- Cut the drainpipe: Using a hacksaw, cut the drainpipe where you want to connect the vent pipe. Make sure that the cut is clean and straight.
- Install a T-fitting: Insert a T-fitting into the opening you just created on the drainpipe. Secure it with PVC primer and cement. The T-fitting will serve as the connection point between the drainpipe and the vent pipe.
- Attach the vent pipe: Attach the vent pipe to the T-fitting. Ensure that all connections are properly fastened and there are no signs of any leaks. You can use clamps or PVC glue to secure the connection.
- Test the system: Turn on the washing machine and let it run through a cycle. Check the vent pipe to ensure that air is flowing out of it. Also, check the drainpipe to ensure that water is flowing freely through it.
Also Read: Why You Should Skip Some Washer Models.
Securing and Sealing the Vent Pipe
Once you have installed the vent pipe, it is important to secure and seal it properly to ensure that it functions correctly and does not leak. Here are some tips for securing and sealing your vent pipe:
- Use screws and a screwdriver to attach the vent pipe to the wall or framing. Make sure that the vent pipe is securely fastened to the wall or framing to prevent it from coming loose or falling down. Use screws that are appropriate for the material you are attaching the vent pipe to, such as wood or drywall.
- Make sure the vent pipe is properly angled. The vent pipe should be angled slightly upward to allow air to flow freely through it. If the vent pipe is angled downward, water can accumulate in it and cause blockages or leaks.
- Seal all connections with pipe glue or cement. To ensure that all your connections are sealed and secure, use pipe glue or cement to attach the vent pipe to the washing machine drain pipe and any other connections. Make sure to follow the manufacturer’s instructions for the glue or cement you are using.
- Install a vent cap on the exterior part of your vent. A vent cap will keep out debris and critters that can clog or damage your vent pipe. Make sure that the vent cap is securely attached and that it allows air to flow freely through the vent pipe.
- Consider using pipe straps or clamps to secure the vent pipe in place. Pipe straps or clamps can help to keep the vent pipe securely in place and prevent it from coming loose or shifting over time. Make sure to use straps or clamps that are appropriate for the size of your vent pipe and the material you are attaching it to.
By following these tips for securing and sealing your vent pipe, you can help to ensure that your machine’s drain pipe is properly vented and that your laundry room stays dry and free from flooding.


