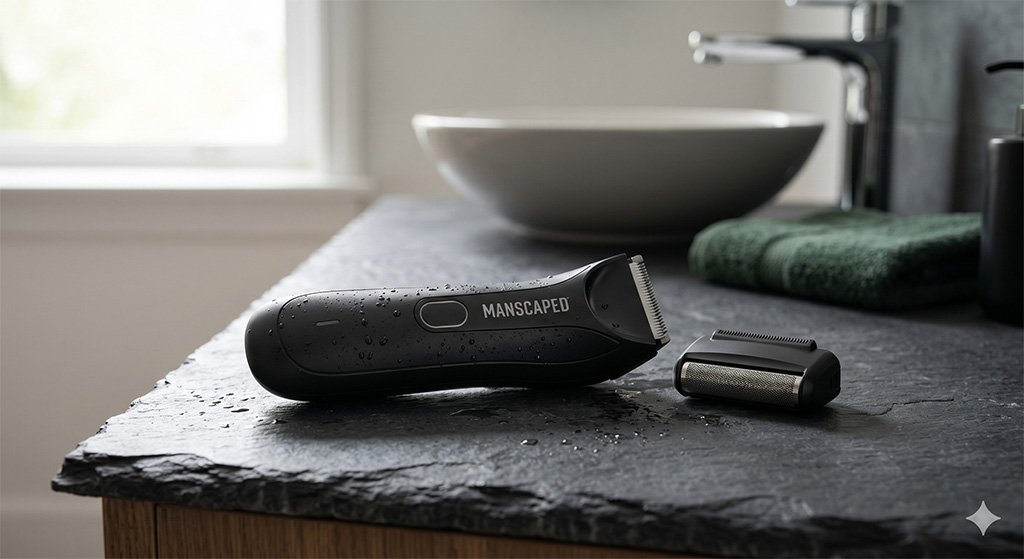
Is your grooming device pulling hairs or leaving your skin irritated? Learning how to clean women’s electric shaver correctly is the absolute best way to ensure a flawless shave. A dirty device quickly becomes a breeding ground for bacteria, leading directly to painful skin inflammation.
Dead skin cells, trapped hair, and natural oils rapidly clog up delicate mechanisms. This nasty buildup forces your device’s motor to work much harder. Ultimately, this drains the battery faster and severely damages the drive shaft of your expensive grooming tool.
By implementing a solid hygiene routine, you can effectively prevent razor bumps and extend the lifespan of your device. Let’s explore the ultimate, step-by-step maintenance guide to keep your blades pristine and your skin completely smooth.
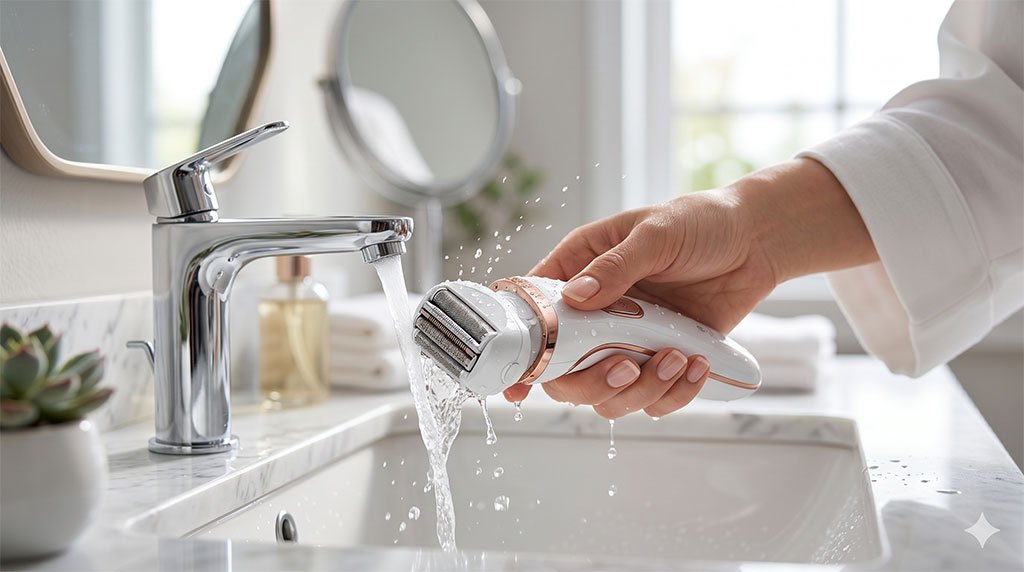
Table of Contents
Why Cleaning Your Electric Shaver is Crucial for Skin Health
Beyond protecting your skin from irritation, regular cleaning also ensures your device runs smoothly and saves you money.
1. The Critical Link to Skin Health
Neglecting shaver hygiene doesn’t just ruin your device; it actively damages your skin barrier.
A dirty shaver head is a perfect breeding ground for microscopic bacteria. Introducing these germs to freshly shaved, open pores leads to:
- Severe irritation.
- Folliculitis (infected hair follicles).
- Strawberry legs (the dreaded skin bumps).
If the blade dragging across your pores is dirty, you are almost guaranteed to suffer from an uncomfortable breakout.
2. The Economic and Mechanical Benefits
Proper maintenance is vital for the shaver’s mechanical health and your long-term budget.
- Prevents “Cement” Buildup: Hair clippings and dried gel act like cement, clogging the cutting block.
- Protects the Motor: A clogged shaver forces the internal motor to struggle with every rotation.
- Prevents Overheating: An overworked motor causes the device to overheat, which rapidly degrades the battery.
By committing to a regular cleaning habit, you significantly delay the need for expensive replacement parts, ultimately saving you a lot of money.
Essential Tools You Need for the Job
You do not need expensive commercial kits to effectively sanitize lady shaver components. A few basic household items will do the job perfectly. Gathering your tools beforehand makes the maintenance process fast and totally effortless.
Here is a simple checklist of the supplies you need:
- The manufacturer’s small cleaning brush (a soft, clean toothbrush works too).
- Mild liquid hand soap or basic dish detergent.
- Clean, warm tap water.
- Isopropyl rubbing alcohol (70% or higher).
- Specialized clipper oil or a lightweight mineral oil.
- A clean, dry microfiber cloth.
Step-by-Step: How to Clean Women’s Electric Shaver
This is the core routine for keeping your device in perfect working order. Follow these exact steps to ensure a hygienic, completely irritation-free grooming experience.
Step 1: Prep and Dry Brushing (Daily Routine)
Safety always comes first. Before doing anything, completely disconnect your device from its charging cable. Never attempt to clean any electronic grooming device while it is plugged into a wall outlet.
Gently press the release buttons to remove the shaver head or foil cassette. Tap the plastic frame lightly on the edge of your sink. This simple action will dislodge the majority of loose hair clippings and dried skin dust.
Always be careful not to tap the delicate metal foils directly against hard surfaces, as they dent very easily. Next, take your small cleaning brush and sweep away any remaining debris.
Use the brush strictly on the inner cutter block and the plastic housing. Never brush the delicate outer foils, as the bristles can easily snag and tear the ultra-thin metal mesh.
Step 2: The Deep Wash (Weekly Routine)
Once a week, your device needs a thorough wash. First, check your manufacturer’s manual to confirm the device is fully water-washable. Most modern wet/dry models can safely be rinsed under the tap.
Apply one or two small drops of mild liquid soap directly onto the foils. Turn the power on and run the device under warm tap water for about ten to fifteen seconds.
The movement of the blades will whip the soap into a thick lather. This soapy lather effectively flushes out stubborn sebum, trapped hair, and hardened shaving cream from deep inside the cutter block.
After ten seconds, turn the power off. Remove the foil head and rinse both the foils and the inner cutters under warm running water until all soap bubbles completely disappear.
Step 3: Disinfecting and Sanitizing
Soap and water are great for removing physical debris, but they do not eliminate all bacteria. To completely clean electric razor women rely on, you must introduce a proper sanitizing agent to the routine.
Take your isopropyl rubbing alcohol and lightly spray or pour it over the inner cutters and the foil screen. The alcohol will instantly kill any lingering bacteria that causes skin irritation.
Alternatively, you can use a commercial sanitizing spray designed specifically for grooming tools. Allow the alcohol or spray to evaporate completely in the open air. Never wipe the wet blades with a towel.
Step 4: Drying and Reassembly
Moisture is the absolute worst enemy of your electric shaver. Reassembling a wet device creates the perfect dark, damp environment for toxic mold and rust to develop rapidly.
Place all the disassembled, sanitized parts on a clean, dry microfiber cloth. Leave them in a well-ventilated area to air-dry completely. This usually takes a few hours, so doing this overnight is highly recommended.
Once every single component is bone dry, carefully reassemble the device. Ensure that cutters and combs are placed back together as matching pairs to avoid damaging the internal mechanisms.
The Secret Step: Lubricating Your Shaver Blades
Washing with soap and sanitizing with alcohol strips away the manufacturer’s natural lubrication. If you skip lubricating your blades, the bare metal will grind together, causing extreme friction and uncomfortable heat during your next shave.
Once the device is dry and fully reassembled, apply a single drop of specialized clipper oil directly onto the outer foils. Do not over-oil; one tiny drop is more than enough.
Turn the device on for roughly three seconds. The vibration will evenly distribute the lightweight oil across the inner cutter block and the foils. Gently blot away any excess oil with a soft tissue.
Cleaning Stage | Frequency | Primary Action | Benefit |
Dry Brushing | After every use | Tap out hair and brush the inner cutters. | Prevents severe clogging. |
Deep Wash | Once a week | Use mild soap and warm running water. | Removes sebum and shaving gel. |
Sanitizing | Once a week | Apply isopropyl alcohol to the blades. | Kills acne-causing bacteria. |
Lubrication | After washing | Apply one drop of clipper oil. | Reduces friction and blade heat. |
Cleaning Nuances: Foil vs. Rotary & Wet vs. Dry
Different devices require slightly different handling techniques. If you own a traditional foil model, you must handle the top cassette with extreme care. The ultra-thin metal mesh is incredibly fragile and warps easily.
If you use a rotary-style device, you need to open the individual circular heads. Carefully brush out the circular blades one by one. Never mix up the rotary blades, as they wear down together as a specific set.
For older, dry-only devices that cannot touch water, never rinse them under the sink. Moisture will instantly ruin the internal motor. Instead, use a can of compressed air to blast away hair and dust safely.
When to Stop Cleaning and Start Replacing
Even the most meticulous cleaning routine cannot keep blades sharp forever. The general rule of thumb in the grooming industry is to replace your cutter parts every 12 to 18 months, depending on usage.
You will know it is time to upgrade when the device starts painfully tugging at your hair instead of cutting it smoothly. Increased shaving time and visible rust are also massive red flags.
If you notice any tiny dents or tears in the foil screen, stop using it immediately. A broken foil will severely scratch your skin. At that point, buying a replacement head is absolutely mandatory.
FAQ
You should never share your personal grooming tools. Sharing blades easily transfers bacteria, dead skin, and even blood-borne pathogens. If sharing is completely unavoidable, you must thoroughly wash and disinfect the entire device with 70% isopropyl alcohol beforehand.
If you live in an area with hard water, white mineral deposits can freeze your blades. Soak the removable cutter block in a small bowl of equal parts white vinegar and warm water for fifteen minutes. Rinse thoroughly.
Yes, rubbing alcohol is entirely safe and highly recommended for the metal cutting parts. However, avoid soaking the plastic handle or rubber grips in alcohol, as it can cause the materials to dry out and crack over time.
Conclusion
Mastering how to clean women’s electric shaver is the ultimate secret to achieving a flawless, irritation-free grooming experience every single time. By taking just a few minutes to maintain your device, you protect both your skin and your wallet.
Remember that a daily dry brush, combined with a weekly soapy wash and a drop of lubricating oil, is the winning formula. Implement this simple routine today, and you will instantly notice a smoother, closer shave tomorrow.
Have you tried this maintenance routine yet, or do you have a favorite sanitizing spray? Let me know your top grooming tips in the comments below, and be sure to share this guide with anyone struggling with razor burn!